Sunday, March 25, 2012

Spring is in the Air - Week 12

I love spring!  The new flowers starting to bloom and trees starting to bud make me wish I had a "green thumb", but I don't.  I can't seem to keep any plants alive, maybe it's because I forget to water the poor things!  This week I thought I would make a flower necklace to celebrate the first week of spring (no watering necessary).

 As usual, I gathered all the supplies I might need.  Molds, clay, cookie cutters and tools.

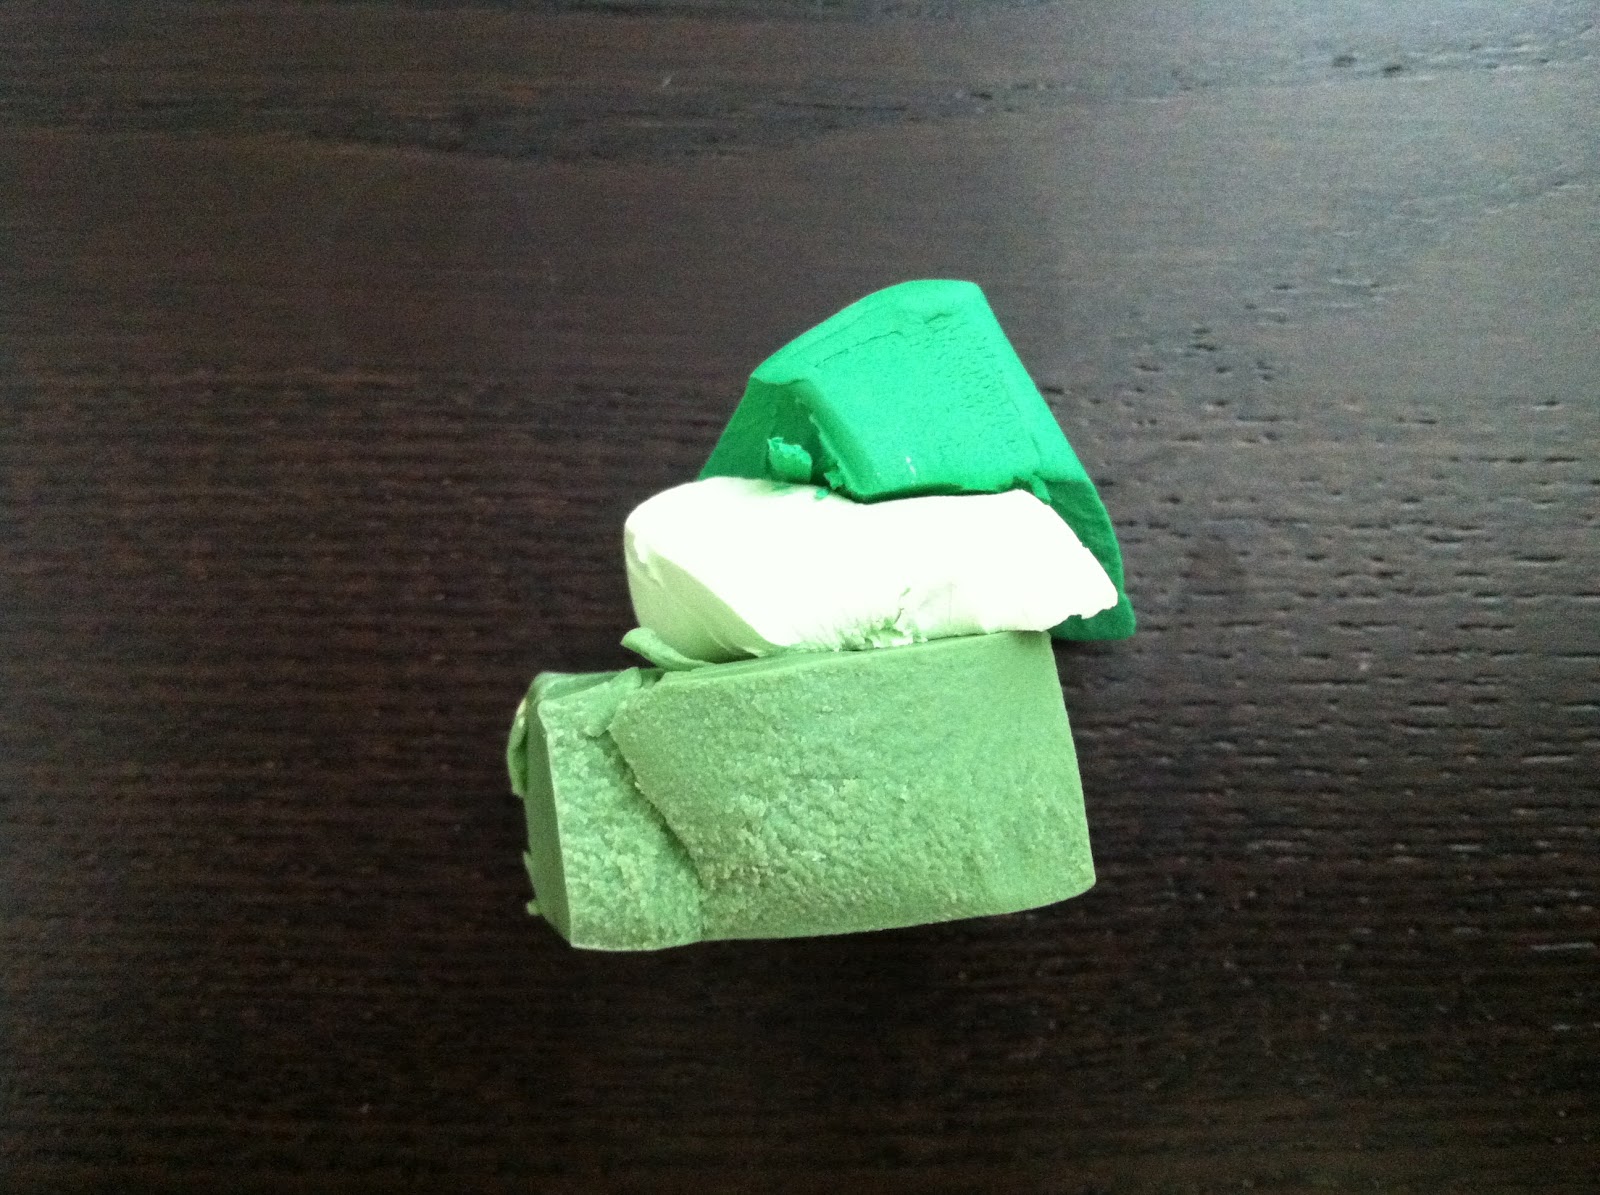
 I started with two shades of green and a white and kneaded different amounts of each together to make some pretty shades of green for the leaves.
 
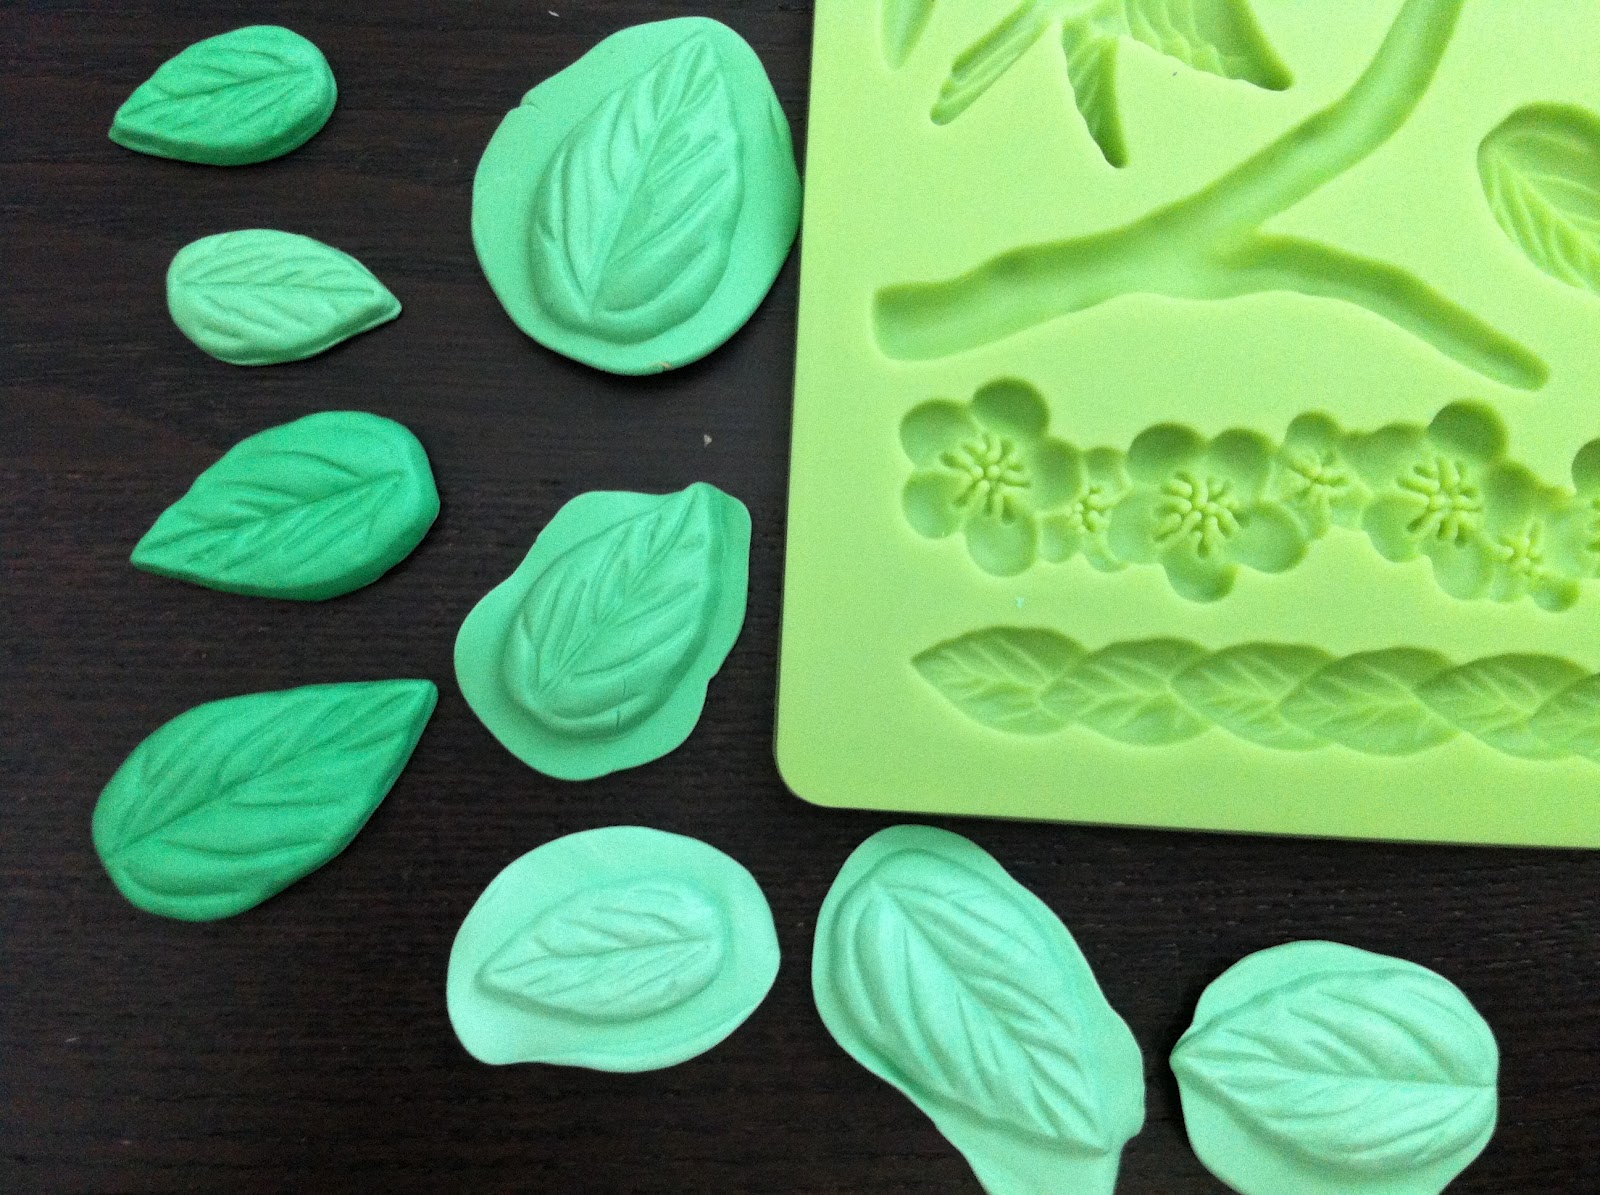
 I pressed balls of clay into the mold.  The mold is made for working with cake fondant so it is a flexible silicon and the clay popped right out!  I trimmed the edges to neaten the leaves up.

 I repeated the same steps with all the clay colors and then baked the pieces in a 275 degree oven for 15 minutes.

 To make the clay look more like jewelry, I used gold and patina colored guilder's paste to give the pieces some interest.
 I also added some turqoise glitter and clear embossing powder and put them back in the oven for 2 minutes.  The heat made the embossing powder melt into a clear glaze.

 I assembled all the pieces together in a pleasing arrangement and then used hot glue to make them stick.  I added chain and a clasp to complete the necklace.  I think it turned out pretty gorgeous and I can't wait to wear it out!
A close-up look, I love how the green leaves and the bird look so vintage.

Saturday, March 17, 2012

It's Good To Be Back - Weeks 10/11

I'm baaaaaccckkk!  I am feeling much better and ready to work!  For this project I wanted to do something a little more time consuming to make up for not doing a craft while I was sick!  I decided to make a quilted purse and matching zippered pouch.  So, here we go......


I started by gathering the supplies I thought I would need.  I also sketched a picture of the bag I wanted to make.  The roll of fabric strips was my inspiration.  It is a roll of pre-cut 2 1/2 inch strips in a palette of red, white, and blue.  


I chose the strip colors I wanted to work with and started sewing them together using a 1/4 inch seam allowance.


After sewing all the strips together I ironed the piece flat.

I then cut the large panel of strips into two smaller pieces to use as the front and back of the purse. I also did this with the lining fabric.

I cut two matching panels of a medium weight batting and started to quilt the fabric to the batting.  I decided to sew a top stitch 1/4 inch away from the seam of each piece to make a clean simple line.


Next, to give the bag a little shape, I sewed a pleat into the front and back center of the bag and lining.


The supplies for the flap.  I sewed two pieces of the fabric together and attached one part of the magnetic snap to the flap and the other half to the front of the bag.


I sewed the front and back of the purse pieces together at the sides and bottom.  To create some depth to the purse I "bagged" the bottom by matching the bottom and side seams and sewing across 2 inches from the edge.


With right sides together I inserted the bag into the lining and sewed around the top edge.

I left an opening in the bottom seam of the lining and pulled the bag through it.  I sewed the seam closed and tucked the lining into the bag.

I sewed around the top of the bag again to make sure the lining stayed tucked in.


I made straps by sewing two long strips right sides together and then turned them right side out.  I attached them to the sides of the bag, leaving some hanging down on both sides to tie into a knot.

The finished purse with the side knots and the flap closed!

A close-up.

To make the pouch I cut two smaller pieces of my fabric strip set and attached a zipper to the top of each piece before I sewed the sides and bottom.  

The finished set!  I love how these turned out and I am sure I will use them a lot!  Hope you like enjoyed seeing my creative process!

Saturday, March 3, 2012

A Busy Week - Week 9

This week has been a busy week!  Not only did I make the dress you will see in the blog, but I helped out at Wyatt's school and helped his teacher finish a cute project that I will also show you!  Then, Wyatt came down with the flu on Thursday and unfortunately, I think it's coming my way too!  Whew...here we go!  The pattern I chose is Simplicity 2590 and I made view D, that was inspired by view B.  That's what I  love about sewing, changing things up and making them your own.


View D is a halter style dress, but I made it out of two fabrics like view B.  The fabrics are pre-washed 100% cotton.  One is a black and white polka dot print, the other is a black white and red floral/Asian print.


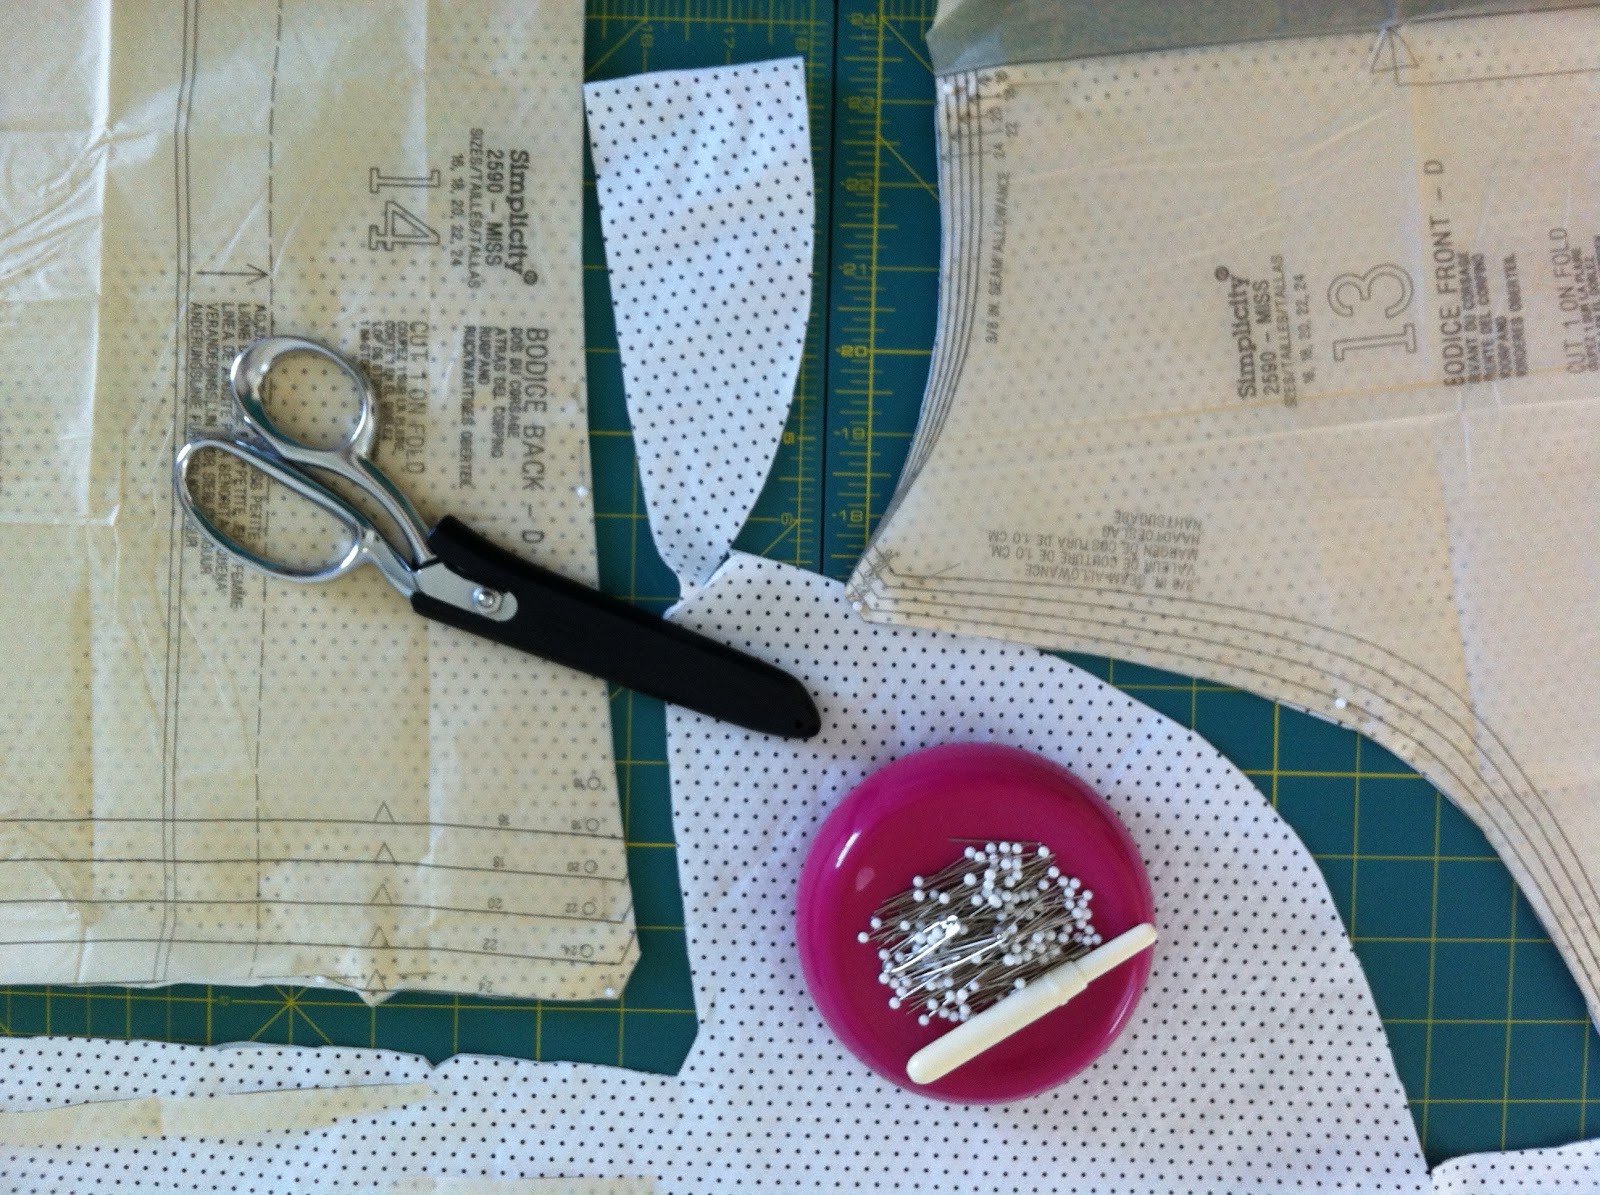
Cutting out the pieces, there were only four!  Bodice front and back and skirt front and back!


Since the dress is a halter the armhole edges need to be finished.  The directions called for sewing seam binding to the right side of the fabric and folding to the inside and sewing close to the edge.  This turned out really nice!


Oops...it wouldn't be a Stephanie project if I didn't have to rip out some threads!  I was supposed to sew the side seams together with the right sides of the fabric facing each other.  Instead I had right side to wrong side!  


The finished dress is a little different than the pattern...I placed the elastic at the seam between the two fabrics because I am longer waisted than the pattern and where it wanted me to put the elastic would have put it almost under my chest!  Not a good look!  The top tie is a red grosgrain ribbon and I plan to wear this with a red patent leather belt.  This was a fun and easy dress to make!


The project I helped out with for Wyatt's teacher was really clever.


The kids painted and decorated these pages to look like Washington and Lincoln.


I cut them all out and glued them together back to back matching the shapes.


Then, when you flip it over one side is Washington and the other is Lincoln!  Pretty cute!  Wyatt's teacher comes up with some really great crafts for them and I am always happy to help her out!

Saturday, February 25, 2012

Feelin' Lazy - Week 8

I was feeling lazy and uninspired this week....but I made a promise to create one thing each week for an entire year.  So hear it is...the lazy girls super easy, yet super cute skirt!  The pattern is by Simplicity # 2368, they call it a 1 hour skirt (more like a two hour skirt).  The fabric is a cotton floral print which I pre-washed and dried ahead of time.


I really like this fabric. It has small flowers in a lot of colors that will go with quite a few tops and sweaters in my wardrobe. 


 There were only two pattern pieces to cut out which is awesome because the cutting is my least favorite part!  I ended up lengthening the skirt because it was considered a mini and it was very mini!  I cut the skirt pattern piece horizontally across the middle and extended it by five inches so that it hits just above my knee.  I then cut out the waistband piece.  I sewed the skirt front and back together at each side and sewed the waistband together at each side as well, then folded it in half and attached it to the top of the skirt.  Inserted the elastic in the wasitband and ironed the skirt.  I used my serger to finish the seams for a professional look and also serged the hem for a raw edge look.  


There you have it...very easy and cute!
So as to not be totally lazy this week, I did use the serger on my other two past projects and cleaned up the seams as well!  I have a couple of yards of this fabric left, so next week I am going to make a blouse of some sort to wear with the skirt or jeans.


Saturday, February 18, 2012

Cowl Girl - week 7

This week we've had a few days that actually felt like winter, so I was inspired to work with some warmer fabric.  I have this great pattern, McCall's 5271, that has several different variations of a knit shirt.  I chose view F, it has a cowl front, long sleeves and a band at the bottom that makes the top blousey.  The fabric I chose is a black and gray lacy paisley print in medium weight knit....very soft and comfy!


The pattern was very easy to sew.  There were just four pieces to cut out: the front, back, band, and sleeve.  It only took me a few hours to make the whole thing.


I am very pleased with how it turned out and plan to wear a black or white tank top under it.  I will probably make one of the other views sometime too.

Saturday, February 11, 2012

Sew Happy - Week 6

This week I felt like sewing something.   I usually don't know what until I start looking through my patterns. I decided on a cute summery dress by Simplicity.  Then I started looking at fabric...that can be daunting because I am a bit of a fabric hoarder and I have a lot to choose from!  I ended choosing a beige floral and a medium denim.  I wanted to make a hybrid dress from views A and B.  A is all one color and sleeveless, B has two fabrics with sleeves.  I decided to make the sleeveless version, but with two fabrics, the beige for the dress body and the denim for the yoke and bottom panel. 


Next I cut out the appropriate pattern pieces


Pinned them to the fabric and cut them all out.  This is my least favorite part of sewing but, thankfully, this pattern didn't have to many pieces!


Following the pattern directions VERY carefully (I usually mess something up and have to rip out stitches)    I started sewing


I'll spare you all the boring details since sewing directions aren't very exciting, but, basically I sewed the dress sides together, sewed the yoke pieces together and sewed them to the dress and then sewed the band onto the bottom.  This was an easy dress because there were no zippers or buttonholes!


Once the yoke was finished I added some cute white jewel buttons.

This was the easiest thing I've sewn in a long time and I didn't use my seam ripper once!  When I tried the dress on before adding the denim panel on the bottom it was waaay to short but with the denim it hits me just above the knee.  I plan to wear it with a white cardigan sweater while the weather is still cool.  To tie the dress in with what ever I wear over it, I decided to make a fabric pin.


Using my Sizzix die cutting machine and a flower die made it really easy.


First I layered my fabric over the die, then added the cutting mat on top and rolled it through the cutter. There are blades in the die that make the cut once pressure is applied, it is really pretty cool how they come out so perfectly!


Pulling the layers apart.


Arranging the layers into a flower and gluing on a jewel.

Cute! I'll pin this to my sweater!

Not sure yet what I plan to do for next week, maybe more clay!  Stay tuned!